
Kitchen Rewire and Lighting: Plan Circuits Early
Plan kitchen circuits and lighting layers before cabinets are fitted. Practical guidance on rewiring, task lighting, islands, and trade sequencing.
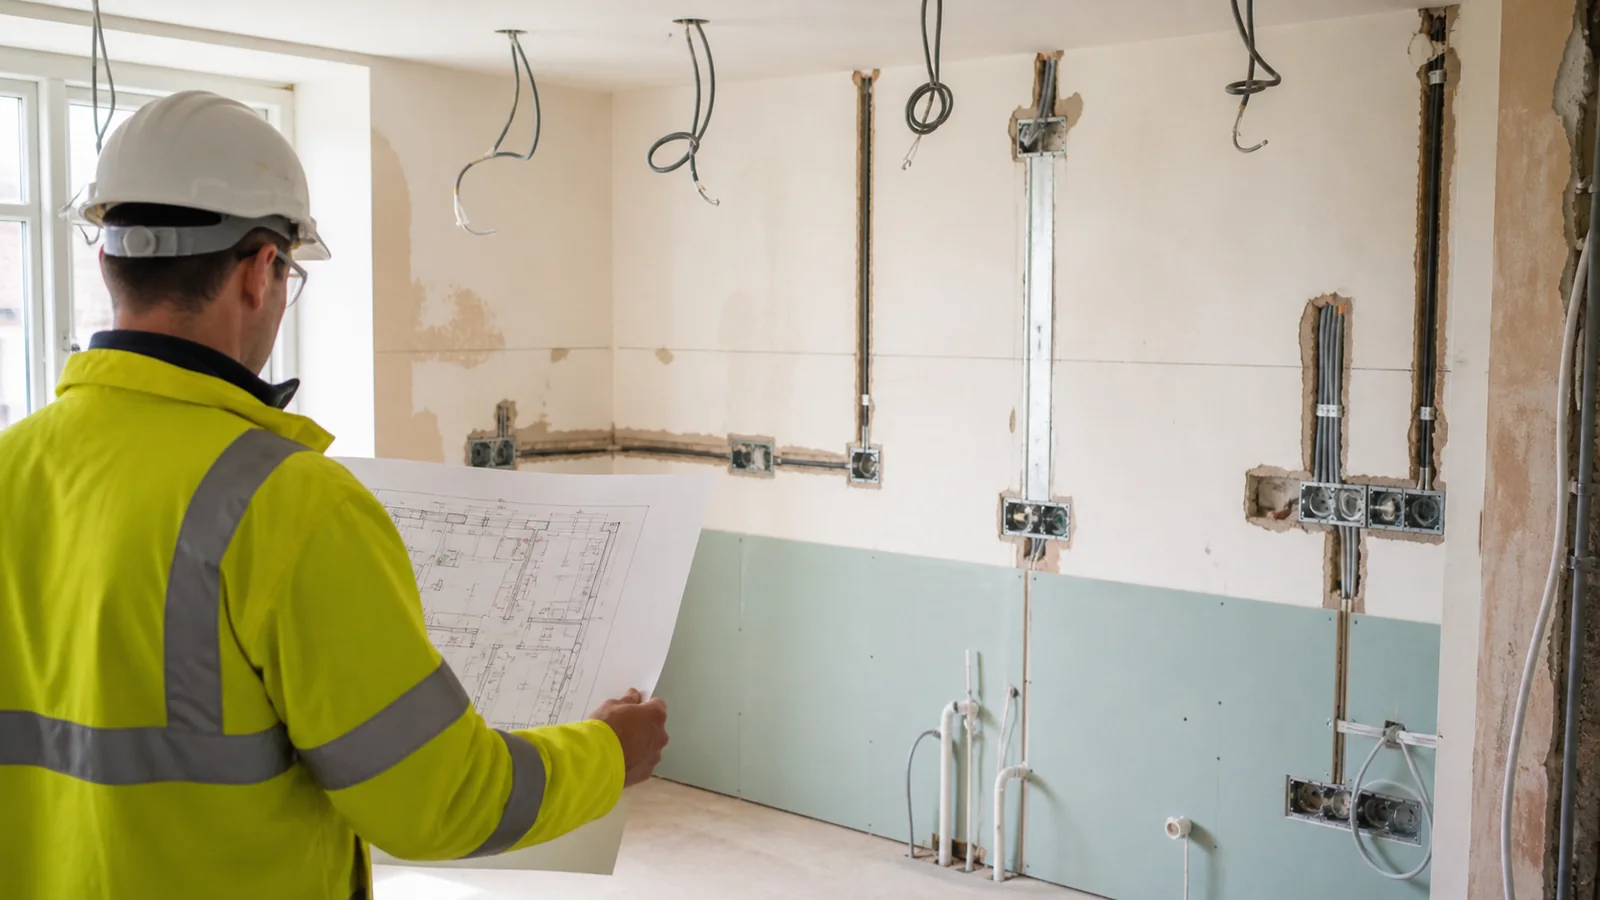
Most kitchen electrical problems are created before a single cabinet is fitted. Sockets end up behind appliances, lighting feels flat, and the island has nowhere to plug in. The fix is straightforward in principle: plan your circuits and lighting layers at the same time as your kitchen layout, not after it.
This guide covers what a kitchen rewire typically involves, how to think about lighting in layers, and why the sequencing of trades matters more than most homeowners realise.
Why Electrical Planning Belongs at the Start of a Kitchen Refurbishment
A kitchen is one of the most electrically demanding rooms in a home. Ovens, hobs, dishwashers, fridges, freezers, washing machines, and extraction units all draw significant load. Add task lighting, ambient lighting, and a charging point or two, and you are looking at a room that benefits from careful circuit design rather than a single ring extended from wherever is convenient.
If electrical work is left until after the kitchen is designed and units are on order, the options narrow quickly. Chasing walls, moving consumer unit positions, or adding floor boxes becomes disruptive and expensive. Getting an electrician and your project coordinator involved at the layout stage keeps those options open.
Note: All electrical work in a kitchen must comply with Part P of the Building Regulations. Notifiable work must be carried out by a competent person or notified to your local authority building control. This post is general guidance only — your specific property, layout, and local requirements must be checked with a qualified professional.
What a Kitchen Rewire Typically Covers
The scope varies considerably depending on the age of the property, the condition of existing wiring, and the scale of the kitchen project. As a general framework, a kitchen rewire for a refurbishment or extension project might include:
Dedicated appliance circuits
- A separate radial circuit for the oven and hob
- Dedicated supplies for the dishwasher and washing machine if located in the kitchen
- A fridge-freezer circuit on its own spur or ring
- Extraction fan wiring, often linked to the hob circuit or independently switched
General power
- Ring or radial circuits for worktop sockets, positioned to suit the final layout
- USB or USB-C integrated sockets where specified
- Floor boxes for islands or peninsulas — these need to be planned before the floor goes down
Lighting circuits
- Separate circuits for task, ambient, and accent lighting allow independent dimming and zoning
- Low-voltage LED downlights, under-cabinet strips, and pendant positions all need their own wiring routes
Consumer unit
- Older properties may need a consumer unit upgrade to accommodate additional circuits safely
The exact scope depends on your property and the work being done. A qualified electrician should assess the existing installation before any decisions are made.
Lighting in Layers: Task, Ambient, and Accent
Flat, single-source kitchen lighting is one of the most common complaints in older kitchen designs. A single ceiling rose or a row of downlights on one switch gives you light, but not useful light — and no atmosphere.
A layered approach separates the room into zones and purposes:
Task Lighting
Directed light where work happens: over the hob, along the worktop, and inside deep cabinets. Under-cabinet LED strips are the most practical solution for worktop illumination. They should be wired in, not plug-in, and positioned to avoid glare on reflective surfaces.
Ambient Lighting
The general fill light for the room. Recessed downlights are common, but their position needs to be coordinated with the cabinet layout — a downlight directly above a wall unit illuminates the top of the unit rather than the worktop below it. This is a sequencing issue that only arises when lighting and kitchen design are planned together.
Accent and Decorative Lighting
Pendants over an island, internal cabinet lighting, or toe-kick LEDs. These are often the last to be specified but need wiring routes agreed early. Island pendants in particular require ceiling roses positioned to suit the island dimensions, which may not be finalised until late in the design process.
Dimming and Zoning
Separate circuits for each layer allow independent dimming. A kitchen used for cooking, eating, and socialising benefits from being able to shift between a bright working environment and a softer evening setting without rewiring anything.
| Factor | Single Circuit | Layered Lighting |
|---|---|---|
| Flexibility | Low | High |
| Ambience | Flat | Adjustable by zone |
| Energy use | Uncontrolled | Optimised with dimming |
| Future adaptability | Limited | Easier to modify |
Islands and Floor Boxes: The Detail That Gets Missed
Kitchen islands are increasingly common in open-plan refurbishments and extensions across Telford, Shropshire, and the wider West Midlands. They also create a specific electrical challenge: how do you get power to a freestanding or semi-freestanding structure in the middle of a room?
A floor box is a common solution — a flush-mounted socket unit set into the floor beneath or beside the island. These need to be installed before the floor finish goes down, which means the island position must be confirmed before flooring begins. If the sequence is wrong, the options are a surface-mounted conduit (rarely acceptable aesthetically) or lifting the floor.
For islands with hobs, a dedicated circuit and appropriate extraction also need to be factored in. Ceiling extraction above an island affects the structural and ceiling finish programme as well.
How TPC Coordinates Electrical and Lighting Work
Electrical and lighting planning sits within a broader project sequence. On a kitchen refurbishment or extension project, TPC approaches this with structural and services coordination first — understanding what is in the walls and floors before trades begin, and sequencing work so that each element is in place before the next one covers it.
Our refurbishment projects typically involve:
- Early coordination between the kitchen designer, electrician, and project manager to agree circuit positions and lighting zones before first fix
- Itemised quotations that separate electrical scope clearly, so changes can be assessed without repricing the whole project
- A project portal that lets you track progress, review decisions, and approve specifications as the build moves forward — useful when lighting choices are being finalised mid-programme
If you are planning a kitchen as part of a larger build or extension, our bespoke building service covers the full coordination from structural work through to finishes.
For a straightforward kitchen refurbishment, the process overview explains how we structure projects from initial survey through to handover.
Practical Checklist Before First Fix
Before your electrician begins first fix on a kitchen project, it is worth confirming the following:
- Kitchen layout is finalised, including island position and dimensions
- Appliance specifications are confirmed (oven type, hob type, extraction route)
- Lighting zones and dimming requirements are agreed
- Floor finish type and timing is known (relevant for floor box installation)
- Consumer unit capacity has been assessed
- Part P notification route is agreed with your electrician or building control
- Any structural work affecting walls or ceilings is complete or sequenced correctly
Missing any of these before first fix typically means revisiting the work later — which adds cost and time.
A Note on Building Regulations
All fixed electrical work in a dwelling must comply with Part P. Notification is required for work listed in regulation 12(6A), including new circuits and consumer-unit replacement; ordinary additions or alterations to existing circuits outside the defined zones around a bath or shower are generally not notifiable. A registered competent person can self-certify relevant work, otherwise the correct Building Control route must be agreed before notifiable work begins.
This is general guidance. The rules that apply to your project depend on the scope of work, your property type, and current regulations. Always confirm requirements with a qualified electrician and, where relevant, your local authority building control. The current GOV.UK Approved Document P guidance is the appropriate starting point for checking when notification is required.