
Full Wet Bed vs Dot and Dab Paving Explained
Dot-and-dab paving creates voids that cause cracking and rocking slabs. Learn why full wet bed installation is the correct method and how to spot the.
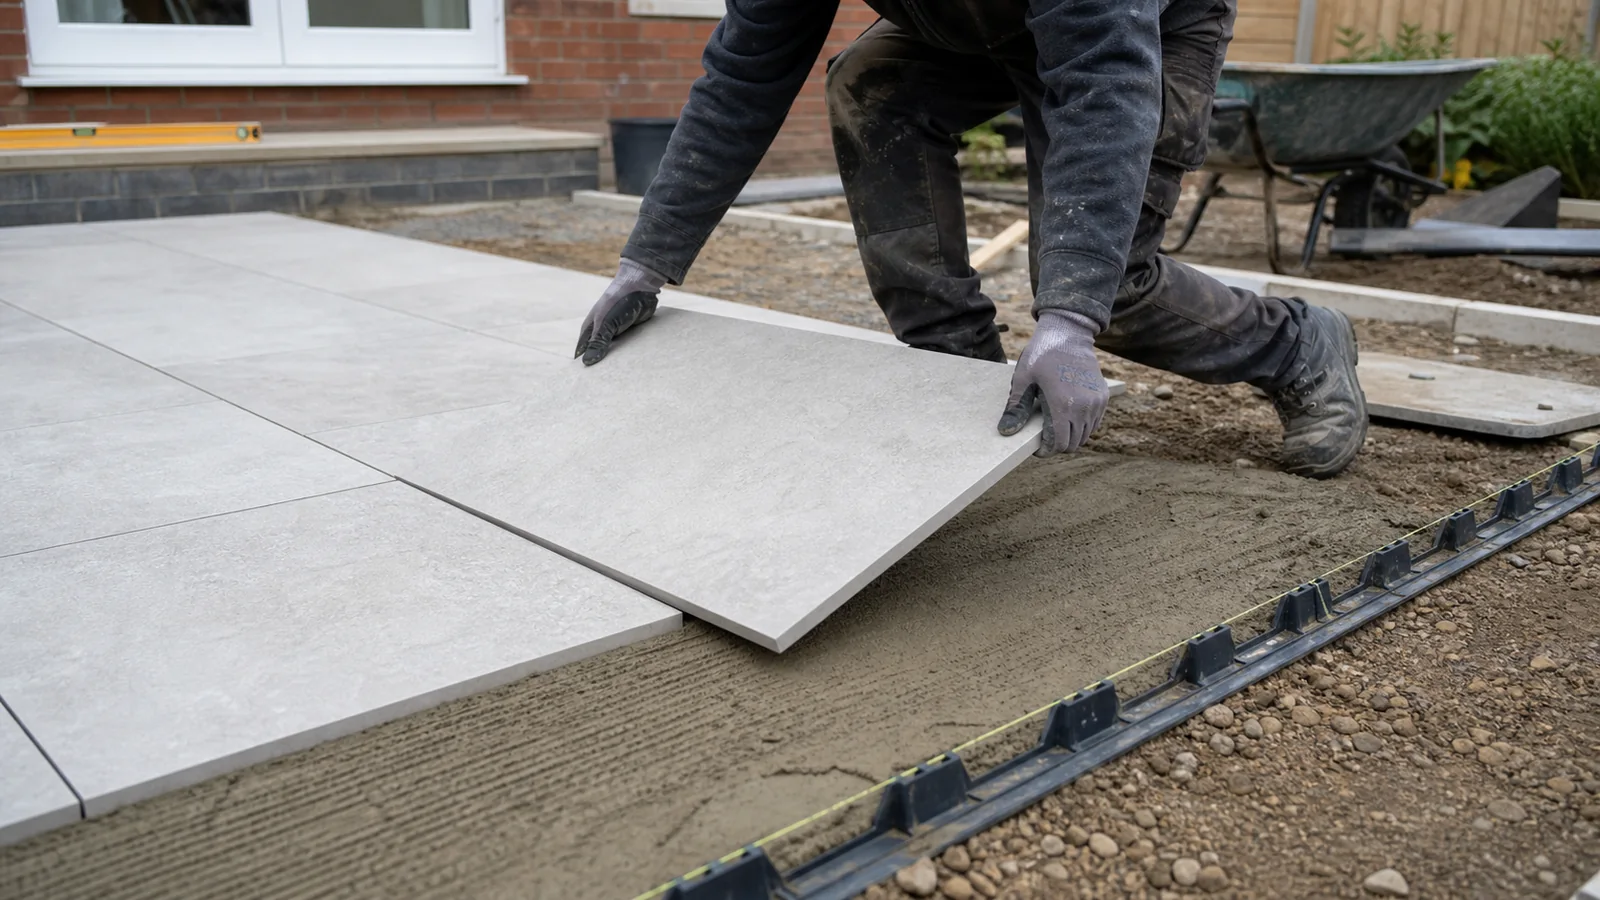
If your patio slabs rock, crack, or sound hollow underfoot, the problem almost certainly started before a single slab was laid. The bedding method chosen by your installer determines whether a patio lasts a decade or a generation — and the difference between the two approaches is not subtle.
This post explains what dot-and-dab installation is, why it fails, and what a correctly laid full wet bed looks like in practice.
What Is Dot-and-Dab Paving?
Dot-and-dab — sometimes called spot bedding — is a method where mortar is applied in blobs or dabs at the corners and centre of a slab rather than as a continuous bed beneath it. The slab is then pressed down onto those contact points.
It is faster and uses less material. That is its only advantage.
Beneath the surface, the result is a slab supported at a handful of points with open voids between them. Those voids are where problems begin.
Why Dot-and-Dab Fails
Point loading and flex
A slab supported only at its corners or edges behaves like a bridge with no central pier. When weight is applied — foot traffic, garden furniture, a vehicle on a driveway edge — the load concentrates at the mortar contact points rather than distributing evenly. Over time, this causes the slab to flex, the mortar to fracture, and the slab to rock or crack.
Natural stone and large-format porcelain tiles are particularly vulnerable. Both materials are relatively rigid and unforgiving of uneven support. A slab that flexes even fractionally under load is more likely to fail over time at the point of stress.
Water trapping
The voids beneath dot-and-dab slabs collect water. In a well-drained patio this is a nuisance; in a poorly graded one it is a structural problem. Standing water beneath slabs softens sub-base material, undermines bedding, and accelerates settlement.
Freeze–thaw damage
Water trapped in sub-slab voids expands when it freezes. In the UK Midlands — where ground frost is a regular winter occurrence across Shropshire, Telford and the surrounding area — repeated freeze–thaw cycles exert significant upward pressure on slabs. Slabs that were already rocking become dislodged. Mortar contact points that were already stressed fracture completely.
Joint failure
Where slabs are not fully supported to their edges, the jointing material at the perimeter has no stable base. Pointing cracks, opens, and allows further water ingress — accelerating the cycle of damage.
The Full Wet Bed Method
A full wet bed means exactly that: a continuous, even layer of mortar across the entire footprint of each slab, with no voids. When the slab is pressed and tamped into position, it is supported uniformly from edge to edge.
What correct installation involves
- Sub-base preparation first. The correct depth and compaction of hardcore or MOT Type 1 sub-base is established before any bedding begins. No bedding method compensates for an inadequate sub-base.
- Consistent mortar mix. The mortar must be the right consistency — firm enough to hold the slab at the correct level, wet enough to bond properly. A mix that is too dry will not key to the slab back; too wet and it will not support the slab’s weight during laying.
- Slurry priming. The underside of each slab is primed with a slurry coat — a thin, wet cement paste — immediately before it is laid. This ensures a positive bond between the slab and the mortar bed, eliminating the micro-voids that form when a dry slab back meets mortar.
- Edge and perimeter support. Slabs are bedded fully to their edges. Perimeter slabs receive the same continuous support as field slabs.
- Consistent fall. The bed is laid to the correct gradient so that surface water drains away from the building and towards appropriate drainage. This is checked throughout, not assumed.
- Joint filling. Once slabs have cured, joints are filled with an appropriate pointing mortar or jointing compound, applied and finished properly to prevent water ingress.
Comparison: Full Wet Bed vs Dot and Dab
| Factor | Full Wet Bed | Dot and Dab |
|---|---|---|
| Load distribution | Even across full slab area | Concentrated at contact points |
| Water trapping | Minimal | High — voids collect water |
| Freeze–thaw resistance | Good | Poor |
| Slab bond | Positive, continuous | Partial |
| Long-term stability | High | Low |
| Industry best practice | Yes | Not recommended |
How to Identify Hollow Slabs
If you suspect your existing patio was dot-and-dabbed, a simple test gives a reasonable indication: walk the surface and listen. A slab with full bed support produces a solid, dense sound underfoot. A hollow slab produces a dull, resonant knock — sometimes described as a drum sound.
This is not a definitive structural assessment. A proper evaluation involves systematic tapping across the full surface, checking for movement under load, and inspecting the edges and joints for signs of water ingress or mortar failure. If you have concerns about the structural condition of a paved area — particularly one adjacent to a building or retaining structure — it is worth having it assessed by a qualified contractor before the problem worsens.
Remediation
Where hollow bedding is confirmed, the correct remedy is to lift the affected slabs, remove the failed mortar, prepare the sub-base properly, and relay using a full wet bed. Attempting to inject filler into voids or re-point over a hollow bed does not address the underlying problem.
Slabs lifted carefully and cleaned can often be relaid, depending on their condition. This is worth establishing before assuming replacement is necessary.
How TPC Approaches Paving Installation
At TPC, the full wet bed method is standard practice across all paving and external works. Dot-and-dab is not used.
Every installation begins with sub-base assessment. Mortar consistency, slurry priming, falls, and joint filling are checked at each stage, and photographic records are kept throughout the project. Clients have access to a project portal where progress is documented, so the work is visible and accountable — not just the finished surface.
Quotations are itemised. Materials, preparation, and installation are specified clearly so that what is quoted reflects what is actually carried out. There are no vague line items that obscure whether correct bedding has been included.
For larger landscaping projects, TPC offers a 2D design layout service during the pre-construction phase. This allows clients to review the proposed layout before work begins and align the design with the practical requirements of the site — drainage, levels, access, and material selection.
TPC covers Telford, Shropshire, Wolverhampton, Shrewsbury, Walsall, Dudley and the wider West Midlands area. If you are planning a new patio or suspect an existing one has been poorly installed, the external works and paving services page sets out how TPC approaches this type of project.
For projects that include wider landscaping — planting, drainage, or structural features — the landscape services page covers the full scope of what TPC coordinates.
A Note on Drainage and Permissions
Paving over garden areas can affect surface water drainage, and in some circumstances — particularly front gardens — planning permission or compliance with permitted development rules may apply. Requirements depend on the size of the area, the materials used, and your specific property and location. This post is general guidance only; review the planning rules for paving a front garden and confirm the current requirements for your specific situation before work begins.
If you have questions about a paving project or want to discuss the condition of an existing patio, contact TPC to arrange an assessment and itemised quotation.